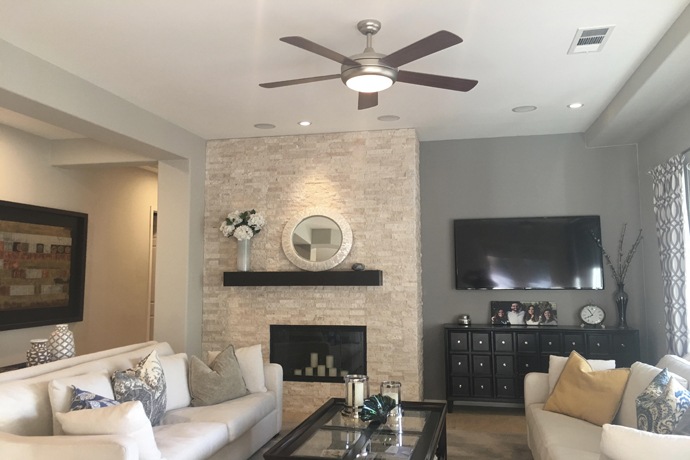
A ceiling fan is a must in a climate where temperatures are extreme creating an even room flow to improve comfort year-round, keeping you cool in the summer, and circulating heated air in the winter. Installing a ceiling fan is fairly simple if you have an existing electrical ceiling fixture or are replacing an old fan.
First Off, Determine the Right Size Fan for Your Room
The bigger the room, the bigger the fan:
- Longest wall less than 12-feet: 36-inch fan
- Longest wall 12-15- feet: 42-inch fan
- Over 15-feet: 52-inch fan
How to Install a Ceiling Fan in an Existing Light Fixture
To change out a ceiling light to a fan, is fairly straightforward. You’ll need to determine the right size fan (above), as well as upgrade the junction box in the ceiling with one rated to bear the weight of a ceiling fan in motion. If you’re new to this kind of challenge and want the job done ASAP, look for ceiling fans labeled ‘easy-install,’ with components that click together for a fan that installs in three easy steps.

- Tools & Materials
- Ceiling fan
- Ceiling fan rated junction box
- Ceiling fan mounting kit, included within the box
- Ceiling fan light kit – if you’d like to add lights to your fan
- Downrod extender, if needed
- Wall mounted fan/light controls, if not included within your kit
- Voltage tester
- Wire cutters and stripper
- Wire nuts, usually included with kit
- Phillips screwdriver and your best bet a cordless drill
- Buy the Right Stuff. Decide how you want to control the fan
- Fans can be controlled at the wall or with hand held controller
- If you decide on a handheld controller make sure you have a constant power source, not switched at the wall. The two in unison could create confusion
- Turn off the Power.
Turn off power at the breaker box. NEVER rely on turning off a light switch to protect you from live current. Double-check with a voltage tester to ensure the wires are dead. - Remove the Existing Light and identify wires available
You should see a black (hot), white (neutral), and possibly a green or bare (ground) wire. - Remove the Existing Ceiling Box if it is plastic
Depending on the box’s installation, remove any visible nails or screws that attach the box to your home’s frame, or push up toward the attic to pry from the frame or bend the hanger bar holding it in place. NOTE: It may be easier to work from above. - Install the New Hanger Bar & Fan-Rated Ceiling Box
Most adjustable hanger bars simply push through the hole from the old electrical box. Push the bar completely through, then rotate perpendicular to ceiling joists, allowing it to expand until the sharp steel pins on the end dig into the wooden ceiling joists. Then, attach the fan-rated ceiling box to the hanger bar, feeding the wires into the box and locking it into place with the included U-bolt bracket and nuts, centering with the bolts facing down. - Mount the Fan Bracket.
Thread electrical wires through the center of the mounting bracket, sliding on the bracket over the mounting screws or fastening to the bolts with nuts (depending on model). - Assemble the Fan.
Following manufacturer’s instructions, assemble your new ceiling fan and light kit, if purchased. - Look for Help.
Fans are heavy, once fan support is in place lift and hang the fan in the open sided ring that the “fan support ball” hangs from. You now have free hands to make up wire connections. - Attach the Wires.
Attach the fan’s black/colored wire with the black wire in the ceiling box. Then the white wire to its matching counterpart, followed by the green ceiling fan wire to the green or bare wire in the box. Some fans have a blue wire intended for light kit. If you have a second wire in junction box, usually red, attached it to the blue wire for separately controlled light switch. - Install Trim, Lights, and Fan Blades per Manufacturer Instructions.
When complete, restore power at breaker box and test your fan.
No Existing Ceiling Fan Fixture?
Installing a ceiling fan in a room with no existing fixture can be a tricky task. Vintage Electric is here to help, running additional wiring safely to your electrical box and switch, safely bracing the new ceiling receptacle box to joists, and dealing with drywall. Ensure safe ceiling fan installation and operation. Contact Vintage Electric today.